
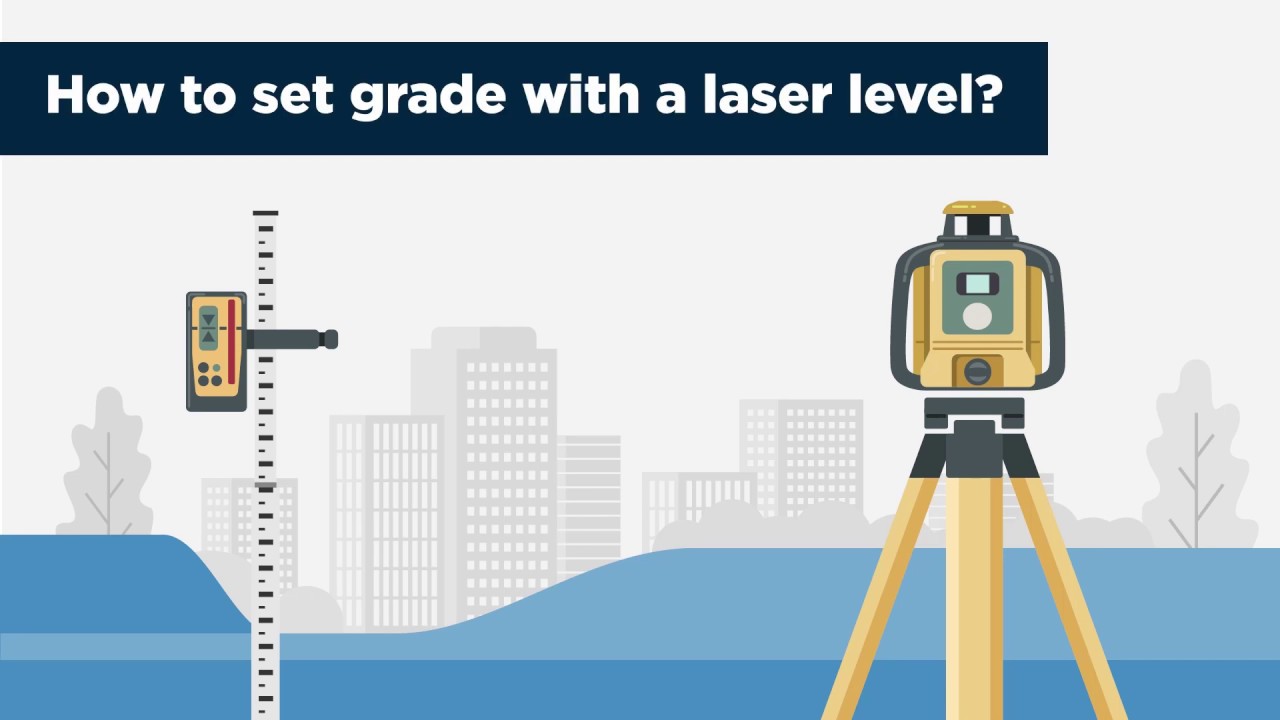
Using a laser level for grading can seem tricky at first. But, with the right steps, anyone can learn to do it.
Grading is important for many projects. Whether you’re preparing a site for construction or landscaping, getting the ground level is key. A laser level helps make this job easier and more accurate. This tool projects a laser beam to guide you.
By following the beam, you can ensure that the ground is even. In this guide, we’ll explain how to use a laser level for grading. You will learn step-by-step how to set up and use this tool. Let’s get started!
Introduction To Laser Levels
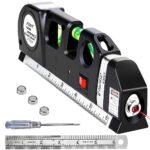
A laser level is a tool that emits a beam of light. This light helps in creating a straight line. Builders and contractors use this tool for many tasks. It is useful for grading and other construction projects. You can find different types of laser levels. Each type has its own features and benefits.
Using a laser level ensures accuracy in your work. It saves time because it is quick to set up. The tool is easy to use and can be used by anyone. Laser levels also improve the quality of your projects. They are reliable and provide consistent results. You can use them in many environments, both indoors and outdoors.
Types Of Laser Levels
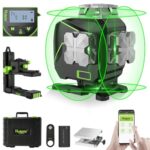
Rotary laser levels are great for large areas. They spin a laser beam around a room. This makes a level line on all walls. Perfect for grading large spaces. Builders use them for big projects. Easy to set up and use. Just place it on a flat surface. Turn it on and let it spin. The laser will show you the level line. Helps keep everything even and flat. A must-have tool for precise work.
Line laser levels are for smaller jobs. They project a straight line on a wall. Ideal for hanging pictures or shelves. Also good for tiling. Easy to handle and carry. Just set it up where you need a straight line. Turn it on and line up your work. Helps ensure everything is straight. Great for indoor use. Useful for both DIY projects and professional work.
Choosing The Right Laser Level
Using a laser level for grading ensures accurate and level surfaces. Adjust the laser level to match the desired grade. This tool simplifies the process, making it easy to achieve professional results.
Factors To Consider
Accuracy is key for grading. Ensure the laser level has a high accuracy rating. Durability matters too. A rugged design can withstand tough job sites. Range is important. Check the distance it can cover. Ease of use is a must. Look for simple controls and setup. Battery life should be long enough for your tasks. Price is also a factor. Balance cost with features.
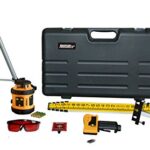
Top Brands And Models
| Brand | Model | Features |
|---|---|---|
| DeWalt | DW089K | Three-beam line laser, easy setup, durable |
| Topcon | RL-H5A | Long range, high accuracy, weather-resistant |
| Leica | Rugby 620 | Robust design, high performance, user-friendly |
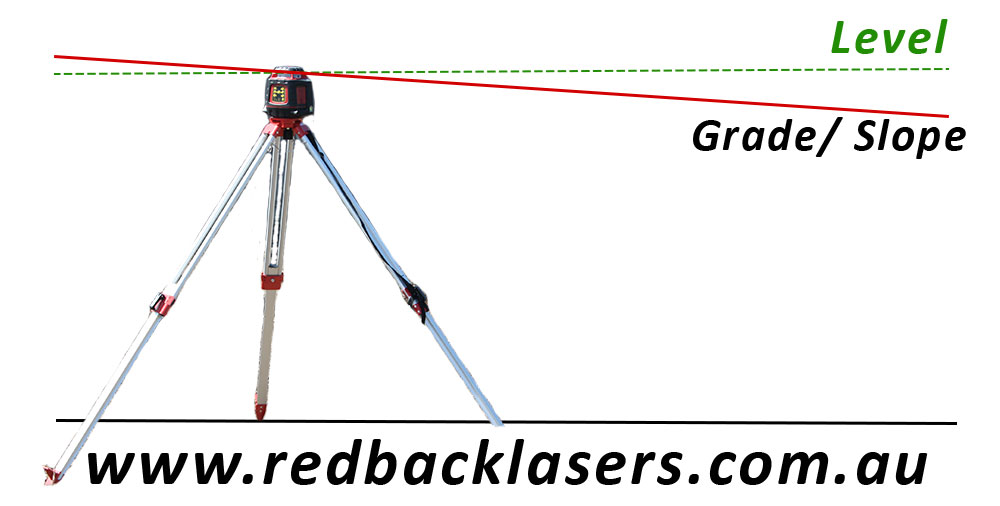
Credit: www.redbacklasers.com.au
Setting Up Your Laser Level
First, clear the area of any debris. Ensure the ground is stable. Mark the points where you will place the laser. Ensure the area is flat. This helps in getting accurate readings. A clean site is crucial for good results.
Place the laser level on a tripod. Make sure it’s secure. Turn it on and let it self-level. Check that it is level. Adjust if needed. Once stable, it is ready for use. Always double-check for stability.
Calibrating The Laser Level
First, set up your laser level on a tripod. Make sure the tripod is stable. Turn on the laser level. Let it self-level, if it has this feature. Manual models need adjustment. Use a bubble level to check this. Next, place a measuring rod at a known height. Aim the laser beam at the rod. Adjust until the beam hits the correct spot. This ensures your laser level is accurate. Repeat this process in different directions. This checks for consistency. Calibration is now complete. You can start grading.
Always check your laser level before use. Daily calibration is best. Dirt can affect accuracy. Keep the device clean. Store it in a safe place. Avoid drops or hits. Regular maintenance ensures good performance. Check batteries often. Low power can cause errors. Use fresh batteries for each task. Follow these steps to maintain accuracy. Your grading work will be precise.
Using Laser Level For Grading
First, set up the laser level on a tripod. Make sure it is stable. Turn on the laser level. Aim it at a fixed point. This point is your reference. Mark this spot clearly. Use stakes or markers. Now, move to the next spot. Repeat the process. Ensure all points are level. This creates a reference line. Check the line often. Adjust if needed. This ensures accuracy.
Place the laser receiver on a grade rod. Move the rod to the first point. Note the reading. Move to the next point. Compare the readings. If the reading is higher, the ground is lower. If the reading is lower, the ground is higher. Adjust the ground as needed. Repeat this process. Ensure the grade is even. Double-check all points. This keeps the grading consistent.
Troubleshooting Common Issues
Check the batteries first. Low power can cause problems. Ensure the laser is on a stable surface. Uneven ground can affect leveling. Clean the laser lens regularly. Dirt can block the beam. Also, check the calibration. A misaligned laser won’t level properly.
Move away from other electronic devices. They can interfere with the signal. Ensure there are no large metal objects nearby. Metal can block the laser beam. Check if there are obstacles in the laser’s path. Remove any barriers if found. Finally, ensure the receiver is within range. Too far and it won’t work.

Credit: tigersupplies.com
Safety Tips And Best Practices
Always wear safety goggles to protect your eyes from the laser. Gloves can protect your hands. A hard hat can keep your head safe. Reflective vests help others see you. Sturdy boots protect your feet from injuries. Ear protection can save your hearing from loud noises.
Keep the laser level in a safe place. Store it in a dry area. Avoid high places where it can fall. Handle with care to avoid damage. Turn off the laser when not in use. Clean the device to remove dust and dirt. Follow the manual for proper handling.

Credit: www.youtube.com
Frequently Asked Questions
What Is A Laser Level Used For Grading?
A laser level is used to ensure accurate grading by projecting a consistent level line. It helps in determining slope and elevation.
How Do You Set Up A Laser Level?
Set up the laser level on a tripod and turn it on. Adjust the device until it is level.
Can I Use A Laser Level For Outdoor Grading?
Yes, you can use a laser level for outdoor grading. Ensure it is visible in daylight, or use a detector.
Do I Need Special Equipment To Use A Laser Level?
You might need a tripod, grade rod, and laser detector for effective use. These tools help in precision and accuracy.
Conclusion
Using a laser level for grading ensures accuracy and efficiency. It simplifies the process and saves time. Follow the steps carefully for best results. Regularly check your equipment for proper functionality. Practice using the laser level to gain confidence. With patience and precision, you can achieve perfect grading.
Happy leveling!
Related posts:
 Best DIY Laser Level for Accurate and Easy Home Projects
 Best 360 Degree Laser Level Tools for Perfect Precision and Easy Setup
 Best Huepar Laser Level for Precise Construction and DIY Projects
 Best Laser Level for Grading And Drainage: Top Self-Leveling Systems
 Best Laser Level for Deck Building: Top Picks for Precision and Accuracy
 Best Rated Laser Level: Top Picks for Accuracy and Ease of Use
 Best Torpedo Laser Level for Precision and Efficiency in Projects
 Best Laser Level for Hanging Pictures – Top Tools for Precision
 How to Use Bosch Laser Level
 How to Use Laser Level to Level Ground