
Removing a shower handle can seem daunting, but it’s quite simple. You need a few tools and some basic steps to follow.
A loose or broken shower handle can be annoying. Fixing it yourself saves you money and time. Learning to remove a shower handle helps with repairs or upgrades. Whether you’re dealing with a leaking handle or updating your bathroom fixtures, this guide will walk you through the process.
You don’t need to be an expert. Just follow these easy steps to get the job done right. Let’s dive in and learn how to remove a shower handle effortlessly.
Preparation
Gather tools like a screwdriver and wrench. Turn off the water supply. Ensure you have towels for any spills.
Turn Off Water Supply
First, find the main water valve. Turn it off to stop water flow. This prevents water from leaking. It’s important to do this step first. Double-check the valve to ensure it’s off. Water should not flow from the shower head.
Cover Drain
Cover the drain with a cloth or drain cover. This prevents small parts from falling in. It’s easy to lose screws and washers. The cover will catch anything that drops. Make sure the cover is secure.

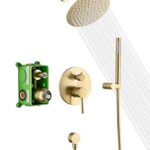
Credit: www.youtube.com
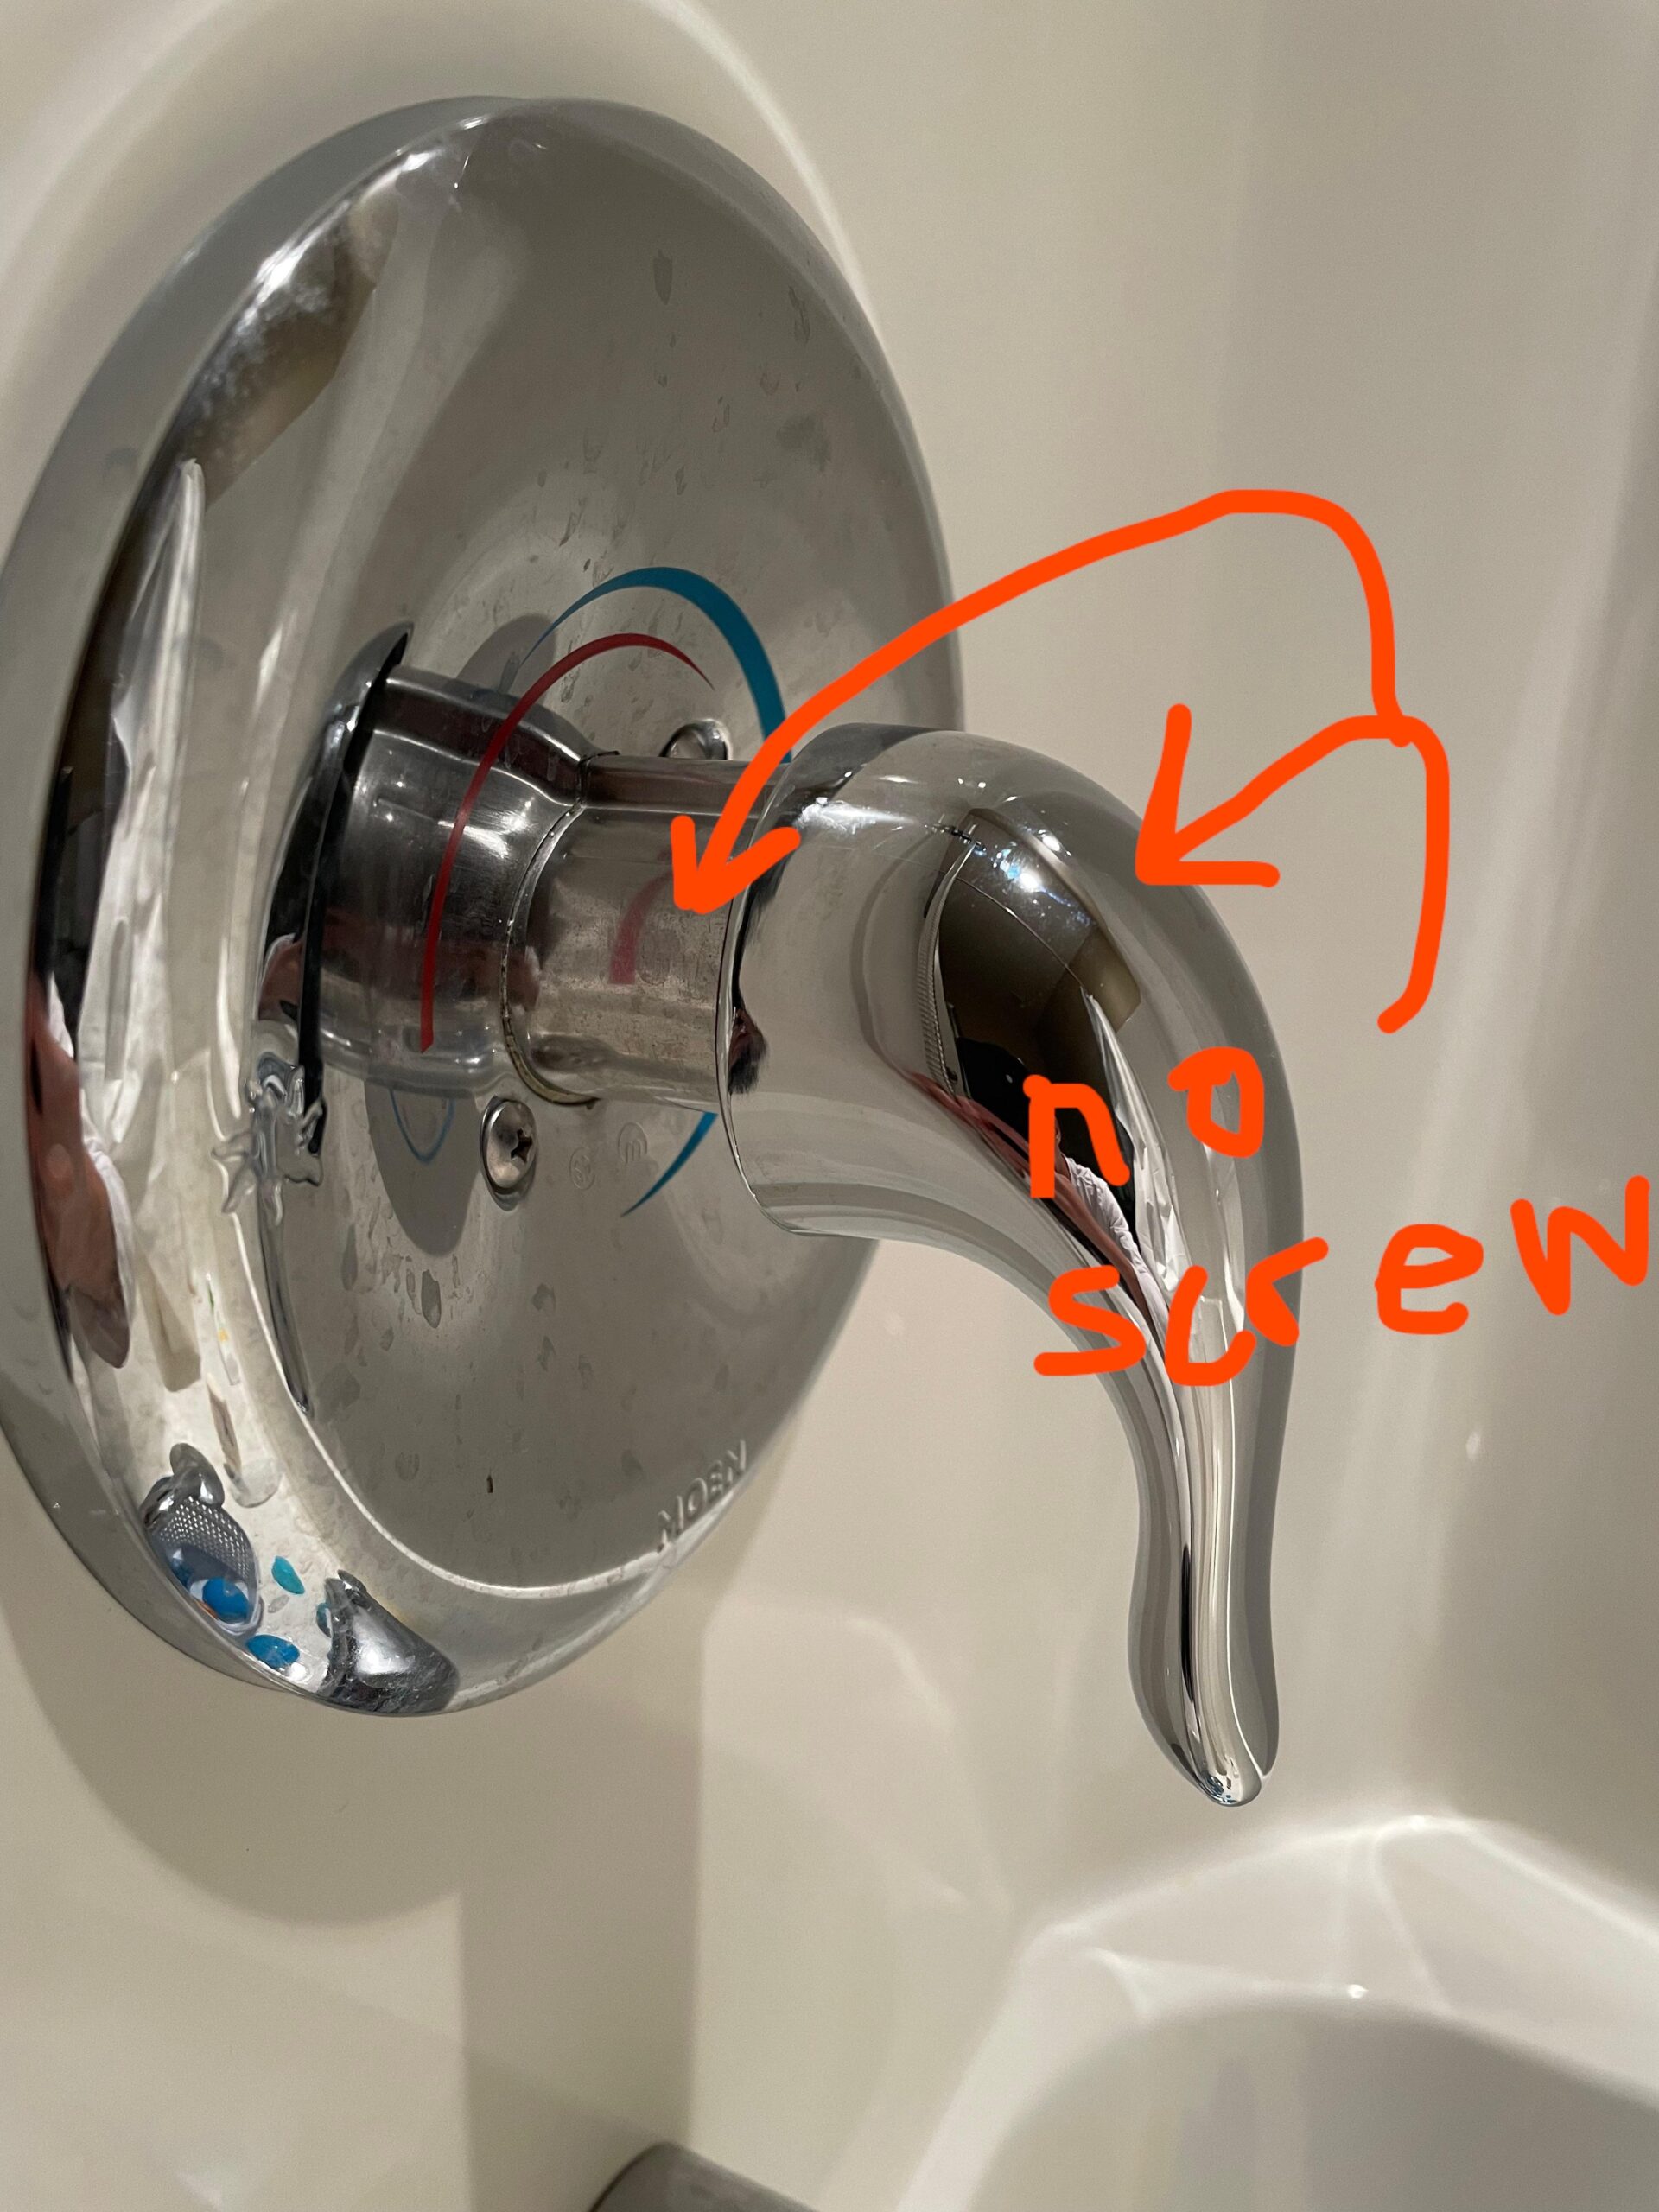
Locate Handle Screws
First, find the decorative cap on the handle. This cap hides the screws. Use a flathead screwdriver to gently pry off the cap. Be careful not to scratch the handle.
Removing Decorative Cap
After removing the cap, you’ll see the screws. Some handles have more than one screw. Check carefully to find all screws. Use the right screwdriver for each type of screw.
Identifying Screw Type
There are different types of screws. Common types include Phillips and flathead. Look closely at the screw head. Match your screwdriver to the screw type. This prevents stripping or damaging the screw.
Remove Handle Screws
First, find the correct screwdriver. Phillips or flat-head screwdrivers are common. Check the screw head to see which type fits. Using the wrong screwdriver can strip the screws. Turn the screwdriver counterclockwise to remove the screws. Apply steady pressure. Don’t rush. Keep the screwdriver straight to avoid damage.
Place the removed screws in a small container. This prevents losing them. A bowl or cup works well. Put the container in a safe place. Avoid leaving screws on the floor. They are small and easy to lose. Label the container if needed. This helps you remember where they belong. Keeping screws safe saves time later.

Credit: www.youtube.com
Detach Shower Handle
Find the screw at the bottom of the handle. Use a screwdriver to turn the screw counterclockwise. Keep turning until the screw is loose. Pull the screw out carefully. Do not drop it.
Once the screw is out, grab the handle. Pull the handle gently towards you. If it is stuck, wiggle it a bit. Apply steady force. The handle should come off easily.
Inspect Components
First, look closely at the shower handle. Check if it is loose or shaky. Inspect screws for rust or damage. Look for cracks in the handle material. Make sure all parts are in good condition. Replace any damaged parts as needed. This ensures the handle works well.
Use a soft cloth to wipe the handle. Remove any dirt or grime. Use a mild cleaner if needed. Avoid harsh chemicals to protect the finish. Make sure the area is dry and clean before reassembling. This helps the handle function properly.
Replace Or Repair Handle
Learn how to remove a shower handle easily. Use a screwdriver to take off the screws. Gently pull the handle away from the wall.
Installing New Handle
Start by turning off the water supply. This will prevent leaks. Next, use a screwdriver to remove the old handle. Check if you need a new handle. Many stores sell handles. Choose one that fits your shower. Place the new handle in position. Use the screws provided to fix it. Tighten the screws well. Finally, turn the water back on. Test the new handle to ensure it works.
Repairing Existing Handle
Turn off the water supply first. This is important to avoid water damage. Remove the handle using a screwdriver. Check the handle for any broken parts. If the parts are broken, replace them. Sometimes, the screw might be loose. Tighten it using a screwdriver. Place the handle back in its position. Secure it with screws. Turn the water back on and check if the handle works properly.
Reassemble Shower Handle
Removing a shower handle involves unscrewing the set screw, often hidden under a cap. Gently pull the handle off the valve stem.
Reattaching Screws
Place the handle back on the shower valve. Align the holes for the screws. Insert the screws into the holes. Use a screwdriver to tighten the screws. Do not overtighten the screws. It could damage the handle. Make sure the handle is secure. Check if it moves smoothly.
Testing The Handle
Turn the handle to the on position. Check for any leaks. Ensure the water flow is smooth. Turn the handle to the off position. Confirm it shuts off properly. Check the temperature control if applicable. Make sure everything works well. If there are issues, check the screws again. Adjust if needed.

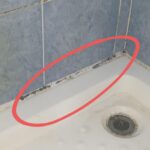
Credit: www.reddit.com
Frequently Asked Questions
How Do You Remove A Shower Handle?
First, turn off the water supply. Remove the screw cover, unscrew the handle, and gently pull it off.
What Tools Are Needed To Remove A Shower Handle?
You will need a screwdriver, an Allen wrench, and possibly pliers. These tools help to unscrew and remove the handle.
Why Is My Shower Handle Stuck?
Mineral deposits or corrosion can cause it. Use a handle puller or apply vinegar to loosen it.
Can I Remove A Shower Handle Without Turning Off Water?
No, always turn off the water supply. This prevents leaks and water damage during the removal process.
Conclusion
Removing a shower handle can seem daunting at first. But with these clear steps, the task becomes manageable. Always ensure you have the right tools. Patience is key. Follow the instructions carefully. Soon, your shower will be back in top shape.
Don’t forget to check for leaks. If unsure, consult a professional. Safety first. Happy DIY!
Related posts:
 Best After Shower Hair Oil: Top Picks for Ultimate Hair Care
 Best After Shower Lotion: Top Picks for Silky Smooth Skin
 Best Hookless Shower Curtain: Top Picks for Stylish and Easy Installation
 Best Shower Hardware: Top Picks for Luxurious Bathroom Upgrades
 What is a Water Saving Shower Head: Save Money & Conserve Water
 How to Get Rid of Mold in Shower: Ultimate Cleaning Guide
 How to Get Rid of Basement Shower Drain Smell: Quick and Easy Tips
 Do I Wash Twice Or Once in the Shower: Expert Hygiene Tips
 Can Bathroom Fans Be above Shower? Discover Safe Installation Tips
 Can I Put Boiling Water down Shower Drain: Safety Tips